Replacing a worn, loose, or outdated electrical outlet is one of the more accessible DIY electrical tasks in the US. The process is straightforward when the wiring is simple. But there are situations — old wiring, multiple cables in the box, unknown wire colours — that make it a job for a qualified electrician. This guide explains both the process and the decision.
⚡ Key Takeaways
- In most US states, homeowners can replace a like-for-like outlet with a permit if required. In the UK, outlet replacement must be certified under Part P.
- Always turn off the circuit at the breaker and verify with a voltage tester before touching any wiring.
- Call an electrician if the box has more than three wires, the wiring is old or damaged, or you’re unsure about any connection.
Tools You’ll Need
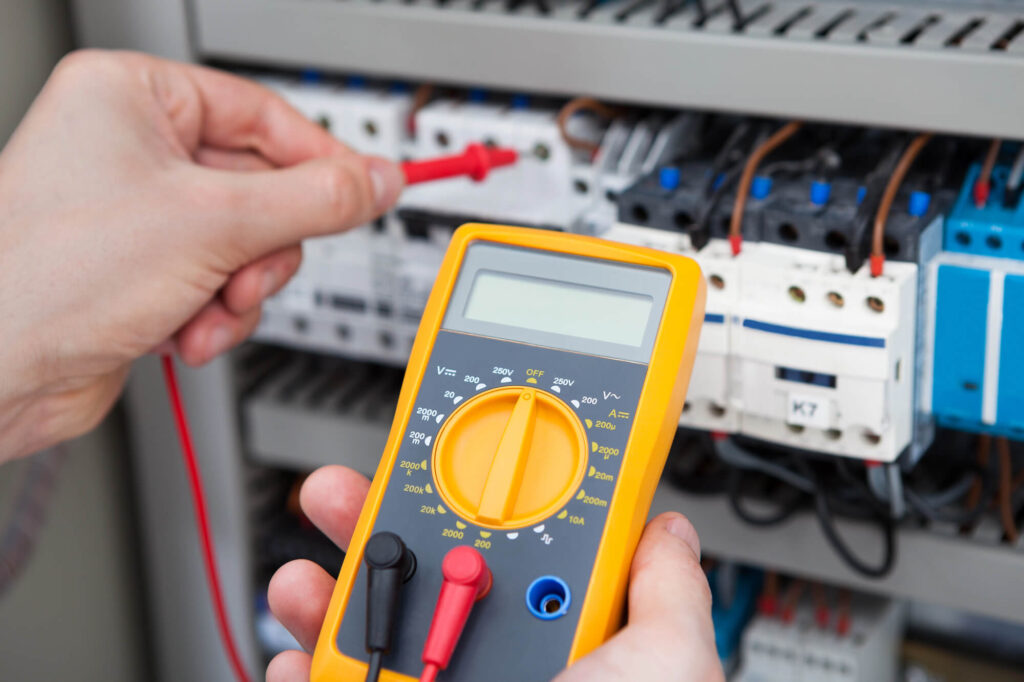
A flathead and Phillips screwdriver, a non-contact voltage tester, needle-nose pliers, and a new outlet rated for the correct amperage. Optionally: electrical tape and a continuity tester.
Step-by-Step: How to Replace an Outlet
Step 1 — Identify the correct circuit at your breaker panel and switch it off.
Step 2 — Test the outlet with a non-contact voltage tester to confirm there is no power. Test both slots and the outlet face. Do not proceed until confirmed dead.
Step 3 — Remove the cover plate (usually one centre screw), then remove the outlet from the box (two screws at top and bottom).
Step 4 — Take a photo of the existing wiring before disconnecting anything. This is your reference if you lose track of which wire goes where.
Step 5 — Disconnect the wires from the old outlet. Note which wire connects to which screw: hot (black) to brass screw, neutral (white) to silver screw, ground (green or bare copper) to green screw.
Step 6 — Connect the new outlet. Black to brass, white to silver, ground to green. Use the screw terminals (side screws), not backstab holes — screw connections are more reliable and longer-lasting.
Step 7 — Gently push the wiring back into the box, mount the outlet, and refit the cover plate.
Step 8 — Restore power and test with a plug-in outlet tester or by plugging in a device.

When to Call an Electrician Instead
Call a qualified electrician if: you find more than three wires in the box (indicating a junction or unusual circuit configuration), if the wiring is old with rubber insulation or non-standard colour coding, if the box contains aluminium wiring, if there are signs of burning or arcing, or if you’re unsure about the wiring after removing the outlet.
Also call an electrician for replacing with a GFCI outlet if there are multiple cables in the box — the line/load wiring distinction for GFCI outlets with multiple circuits requires careful understanding.
Not confident with the wiring? Our qualified electricians can replace any outlet safely and certify the work.
Safety First: Tools and Preparation
Before starting, gather: a flathead and Phillips screwdriver, a non-contact voltage tester (essential — never skip this), needle-nose pliers, and the replacement outlet. Turn off the circuit breaker for the outlet you’re replacing. Label it or lock the panel so no one turns it back on while you work. Use the voltage tester at the outlet to confirm power is off before removing any screws. Test the tester on a known live outlet first to confirm it’s working.
Understanding What You’ll Find Inside the Box
When you remove the outlet from the box, you’ll see wires attached to screw terminals or pushed into back-stab connections. Typical wiring:
- Black wire to the gold/brass-coloured screw (hot side)
- White wire to the silver-coloured screw (neutral side)
- Bare copper or green wire to the green screw (ground)
In a middle-of-run outlet, you’ll see two sets of wires — the incoming circuit and the outgoing circuit. Photograph the wiring before disconnecting anything.
Back-Stab Connections vs. Screw Terminals
Older outlets often use back-stab push-in connections — wires are simply inserted into holes in the back of the outlet. These are associated with a higher failure rate than screw terminal connections, as they can loosen over time and create arcing. When replacing an outlet, always connect the new outlet using the screw terminals instead. Wrap the wire clockwise around the screw — this direction means tightening the screw will pull the wire in rather than push it out.
When to Upgrade While You’re At It
If you’re replacing a standard outlet in a kitchen, bathroom, garage, or outdoor area, the replacement must be GFCI-protected. If the existing outlet is two-prong (no ground), you have three options: install a GFCI outlet (which provides shock protection even without a ground wire), run a new ground wire to the box (most expensive), or replace with a three-prong outlet with a warning label that it’s not grounded.
Upgrading to Smart and Specialty Outlets
Beyond standard replacement outlets, modern homeowners have options to upgrade their electrical outlets with smart technology or specialized functionality. Smart outlets can be controlled remotely via smartphone apps, scheduled to turn on and off automatically, or monitored to track energy usage. These outlets typically cost $15 to $40 each for basic smart functionality and are a straightforward replacement if you have existing outlet locations.
Specialty outlets are also available for specific applications. USB outlets combine traditional outlets with built-in USB ports, eliminating the need for separate adapters—these cost around $20 to $30. Tamper-resistant outlets include safety shutters that prevent accidental contact with the terminals, required by code in many situations. GFCI outlets provide ground fault protection in bathrooms and kitchens, while arc-fault circuit interrupter (AFCI) outlets detect dangerous arcing conditions that could cause fires.
When replacing outlets, consider future needs. Installing USB outlets in bedrooms and living areas is increasingly practical as more devices charge via USB. In kitchens, installing dedicated circuits for specific appliances (separate circuits for microwaves, refrigerators, or dishwashers) can improve both safety and convenience. These upgrades require professional installation if they involve running new circuits, but if you’re replacing existing outlets with specialty versions in the same location, a qualified homeowner can often handle the work following proper safety procedures and local electrical codes.
Frequently Asked Questions
Do I need a permit to replace an outlet in the US?
Requirements vary by jurisdiction. Some states and municipalities require a permit for any electrical work, including outlet replacement; others allow like-for-like replacement without a permit. Check with your local building department. Unpermitted electrical work can affect your home insurance and create problems when selling.
Can I replace a 2-prong outlet with a 3-prong outlet?
Only if the circuit has a ground wire. If the circuit is ungrounded (2-wire, no bare copper or green wire), you can legally install a GFCI outlet as a replacement without a ground wire — but you must mark it ‘GFCI Protected / No Equipment Ground’. The GFCI still provides shock protection even without a ground.
How do I know which wire is which in an old outlet?
In standard US NM cable: black = hot (connects to brass screw), white = neutral (connects to silver screw), bare copper or green = ground (connects to green screw). If wire colours are non-standard or unclear, test each wire with a non-contact voltage tester (with the circuit on) to identify the hot conductor, then switch off the circuit before disconnecting anything.