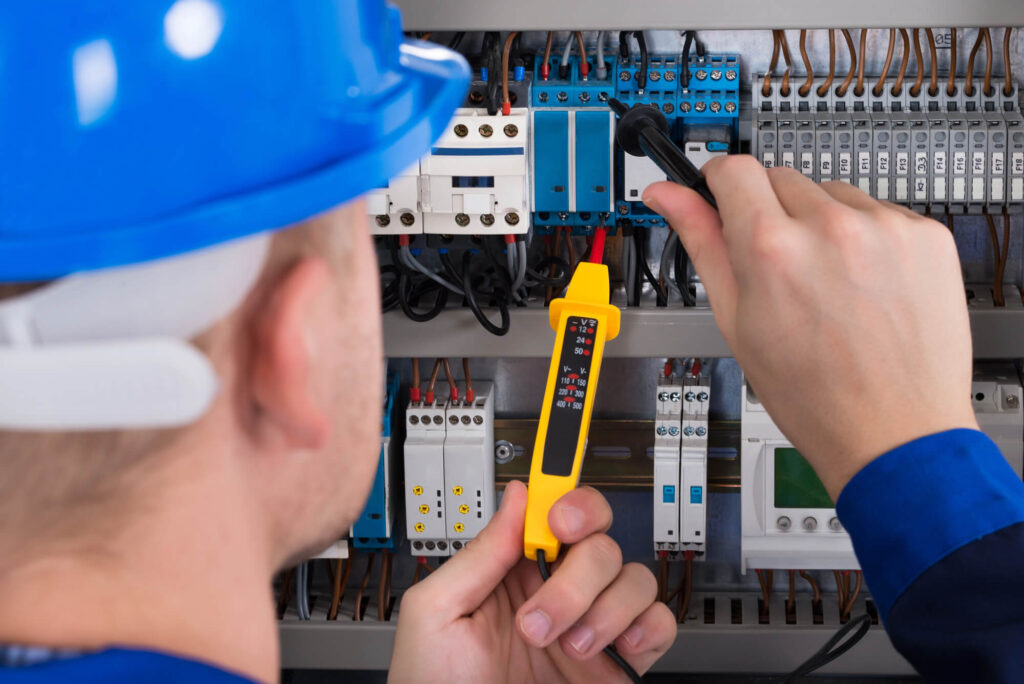
Installing a subpanel extends your home’s electrical capacity by creating a secondary distribution point fed from the main panel. This is a complex project that requires a licensed electrician, proper permits, and careful planning — here’s what’s involved.
Contents
⚡ Key Takeaways
- Subpanel installation always requires a licensed electrician and permits
- The main panel must have a free double-pole breaker slot for the subpanel feed
- Subpanel location must have a grounding electrode system (ground rod) at the subpanel
- Detached structures require a separate neutral-ground bond at the subpanel
- Common subpanel sizes: 60A (garage/workshop), 100A (basement/addition), 125A+ (large structures)
What Is a Subpanel and When Do You Need One?
A subpanel is a secondary electrical panel fed by a larger feeder breaker in the main panel. It distributes power to multiple circuits in a specific area of the home or in a detached structure. You need a subpanel when:
- Your main panel is full and you need to add circuits
- You’re adding power to a detached garage, workshop, or outbuilding
- You’re finishing a basement or building an addition with multiple circuits
- You want to localize circuit protection for a specific area

Installation Overview
Subpanel installation is a multi-step process that a licensed electrician performs:
Step 1: Size the Subpanel
Determine the amperage and number of circuit slots needed. The subpanel amperage must not exceed the main panel’s available capacity minus existing loads. Common sizes: 60A (6–12 circuit slots), 100A (20–24 slots), 125A+ (24–42 slots).
Step 2: Size the Feeder Wire
The feeder wire must be appropriately sized for the subpanel amperage and distance:
- 60A: 6 AWG copper (or 4 AWG aluminum)
- 100A: 4 AWG copper (or 2 AWG aluminum)
- 125A: 2 AWG copper (or 1/0 AWG aluminum)
For longer runs, your electrician may need to upsize the wire to maintain acceptable voltage drop.
Step 3: Install the Subpanel Enclosure
Mount the subpanel enclosure at the desired location. It must be accessible (not inside a closet with a lock or behind cabinetry), at an appropriate height (breaker handles reachable without a ladder), and protected from moisture in outdoor/garage installations.
Step 4: Run the Feeder
Pull the feeder wire from the main panel to the subpanel. For exposed runs, conduit is required. For underground to detached structures, direct burial cable or conduit must be installed at the proper depth (typically 24″ for underground feeder cable, 6″ for conduit).
Step 5: Connect at the Subpanel
At the subpanel:
- The two hot feeder wires connect to the main lugs (or main breaker) of the subpanel
- The neutral feeder wire connects to the neutral bar
- The ground feeder wire connects to the ground bar
- Important: In a detached structure, neutral and ground bars must be separated (not bonded together, as they are at the main panel). In the same structure, they can remain bonded only if it is the first means of disconnect.
Step 6: Grounding Electrode System
For detached structures, a separate grounding electrode system is required — typically two 8-foot ground rods spaced at least 6 feet apart, connected to the subpanel ground bar. Your electrician will install and test these per NEC requirements.
Step 7: Connect at the Main Panel
Install the appropriately-sized double-pole breaker and connect the feeder wires to it. Turn on and test all circuits.
Permits and Inspection
Subpanel installation is always a permitted project. Your electrician pulls the permit, performs the rough-in, and schedules the inspection. Inspectors verify feeder sizing, grounding, panel clearances, and proper neutral-ground bonding/separation. Never skip the permit — insurance and resale implications are significant.
Frequently Asked Questions
Can I install a subpanel myself?
No. Subpanel installation involves your main electrical panel and 240V feeder wiring — it’s not a DIY project. Permits and inspection are required. A mistake in subpanel grounding or neutral-ground bonding — requirements detailed in NFPA 70 (the National Electrical Code) — can create dangerous shock hazards. Always hire a licensed electrician.
What size subpanel do I need for a detached garage?
For a typical 2-car garage with lighting, outlets, and a Level 2 EV charger, a 100A subpanel is a comfortable fit. If you’re also running major equipment (welder, compressor, workshop tools), 125A or larger may be appropriate.
Does a subpanel in a detached structure need its own ground rods?
Yes. A detached structure with a subpanel requires its own grounding electrode system — typically two ground rods. The neutral and ground must also be separated (not bonded) at the subpanel in a detached structure.
How much does subpanel installation cost?
An attached subpanel installation (same structure as the main panel) typically costs $500–$1,500. Detached structure installations with underground conduit runs cost $1,500–$4,000+ depending on distance and site conditions.
Do I need to upgrade my main panel to add a subpanel?
Only if your main panel is at capacity or doesn’t have two free slots for a double-pole feed breaker. A licensed electrician will assess your panel load and capacity before sizing the subpanel feed.