Installing a GFCI outlet is one of the most impactful electrical safety upgrades you can make in your home. GFCI outlets protect against electric shock in wet locations and are required by the National Electrical Code (NEC) in bathrooms, kitchens, garages, and outdoors. Here’s how to do it safely.
Contents
⚡ Key Takeaways
- Always turn off the circuit breaker and verify power is off before touching any wiring
- GFCI outlets have LINE and LOAD terminals — connecting them correctly determines how many outlets are protected
- One GFCI outlet can protect all downstream outlets on the same circuit via the LOAD terminals
- Label protected outlets “No Equipment Ground” if the circuit isn’t grounded
- If you’re unsure about wiring, hire a licensed electrician — wet-location mistakes can be fatal
Tools and Materials You’ll Need
- GFCI outlet (15A or 20A to match your circuit)
- Flathead and Phillips screwdrivers
- Non-contact voltage tester
- Needle-nose pliers
- Wire stripper
- Electrical tape
How to Install a GFCI Outlet (Step by Step)
- Turn off the circuit breaker supplying power to the outlet you’re replacing
- Verify power is off using a non-contact voltage tester — never skip this step
- Remove the outlet cover plate and unscrew the outlet from the electrical box
- Pull the outlet out carefully and identify the wires
- Note the wire configuration: For a single outlet replacement, you’ll see one black (hot), one white (neutral), and one bare or green (ground). If you see two sets of wires, one pair is LINE (from panel) and one is LOAD (to downstream outlets).
- Disconnect the old outlet by unscrewing the terminal screws
- Connect to the GFCI LINE terminals: Black wire to the brass LINE terminal, white wire to the silver LINE terminal, ground to the green screw
- For LOAD protection of downstream outlets: Connect the second black wire to LOAD brass, second white to LOAD silver. If only protecting this outlet, cap the LOAD terminals with the included caps.
- Carefully fold the wires back and push the outlet into the box
- Secure with screws and install the cover plate
- Restore power and test: Press the TEST button — power should cut out. Press RESET — power should restore. Test with a lamp or outlet tester.
LINE vs. LOAD: What’s the Difference?
The LINE terminals receive power from the panel. The LOAD terminals send protected power downstream to additional outlets on the same circuit. Connecting incoming power to LOAD terminals (instead of LINE) is the most common installation mistake — it will prevent the GFCI from working correctly. The LINE side is always the incoming (panel side) wires.
Installing GFCI on Ungrounded Circuits
If your home has older wiring without a ground wire (two-conductor wire), a GFCI outlet is the NEC-approved solution. You can install the GFCI on LINE terminals only (no ground wire needed for GFCI protection to function), but you must label the outlet “No Equipment Ground.” The GFCI will still provide shock protection even without grounding.
When to Call a Licensed Electrician
Call a professional if:
- You find more than 3 wires in the outlet box and aren’t sure which are LINE vs. LOAD
- The existing wiring is aluminum, cloth-covered, or in poor condition
- The installation is in a wet location (shower, outdoor) and you’re not confident in the work
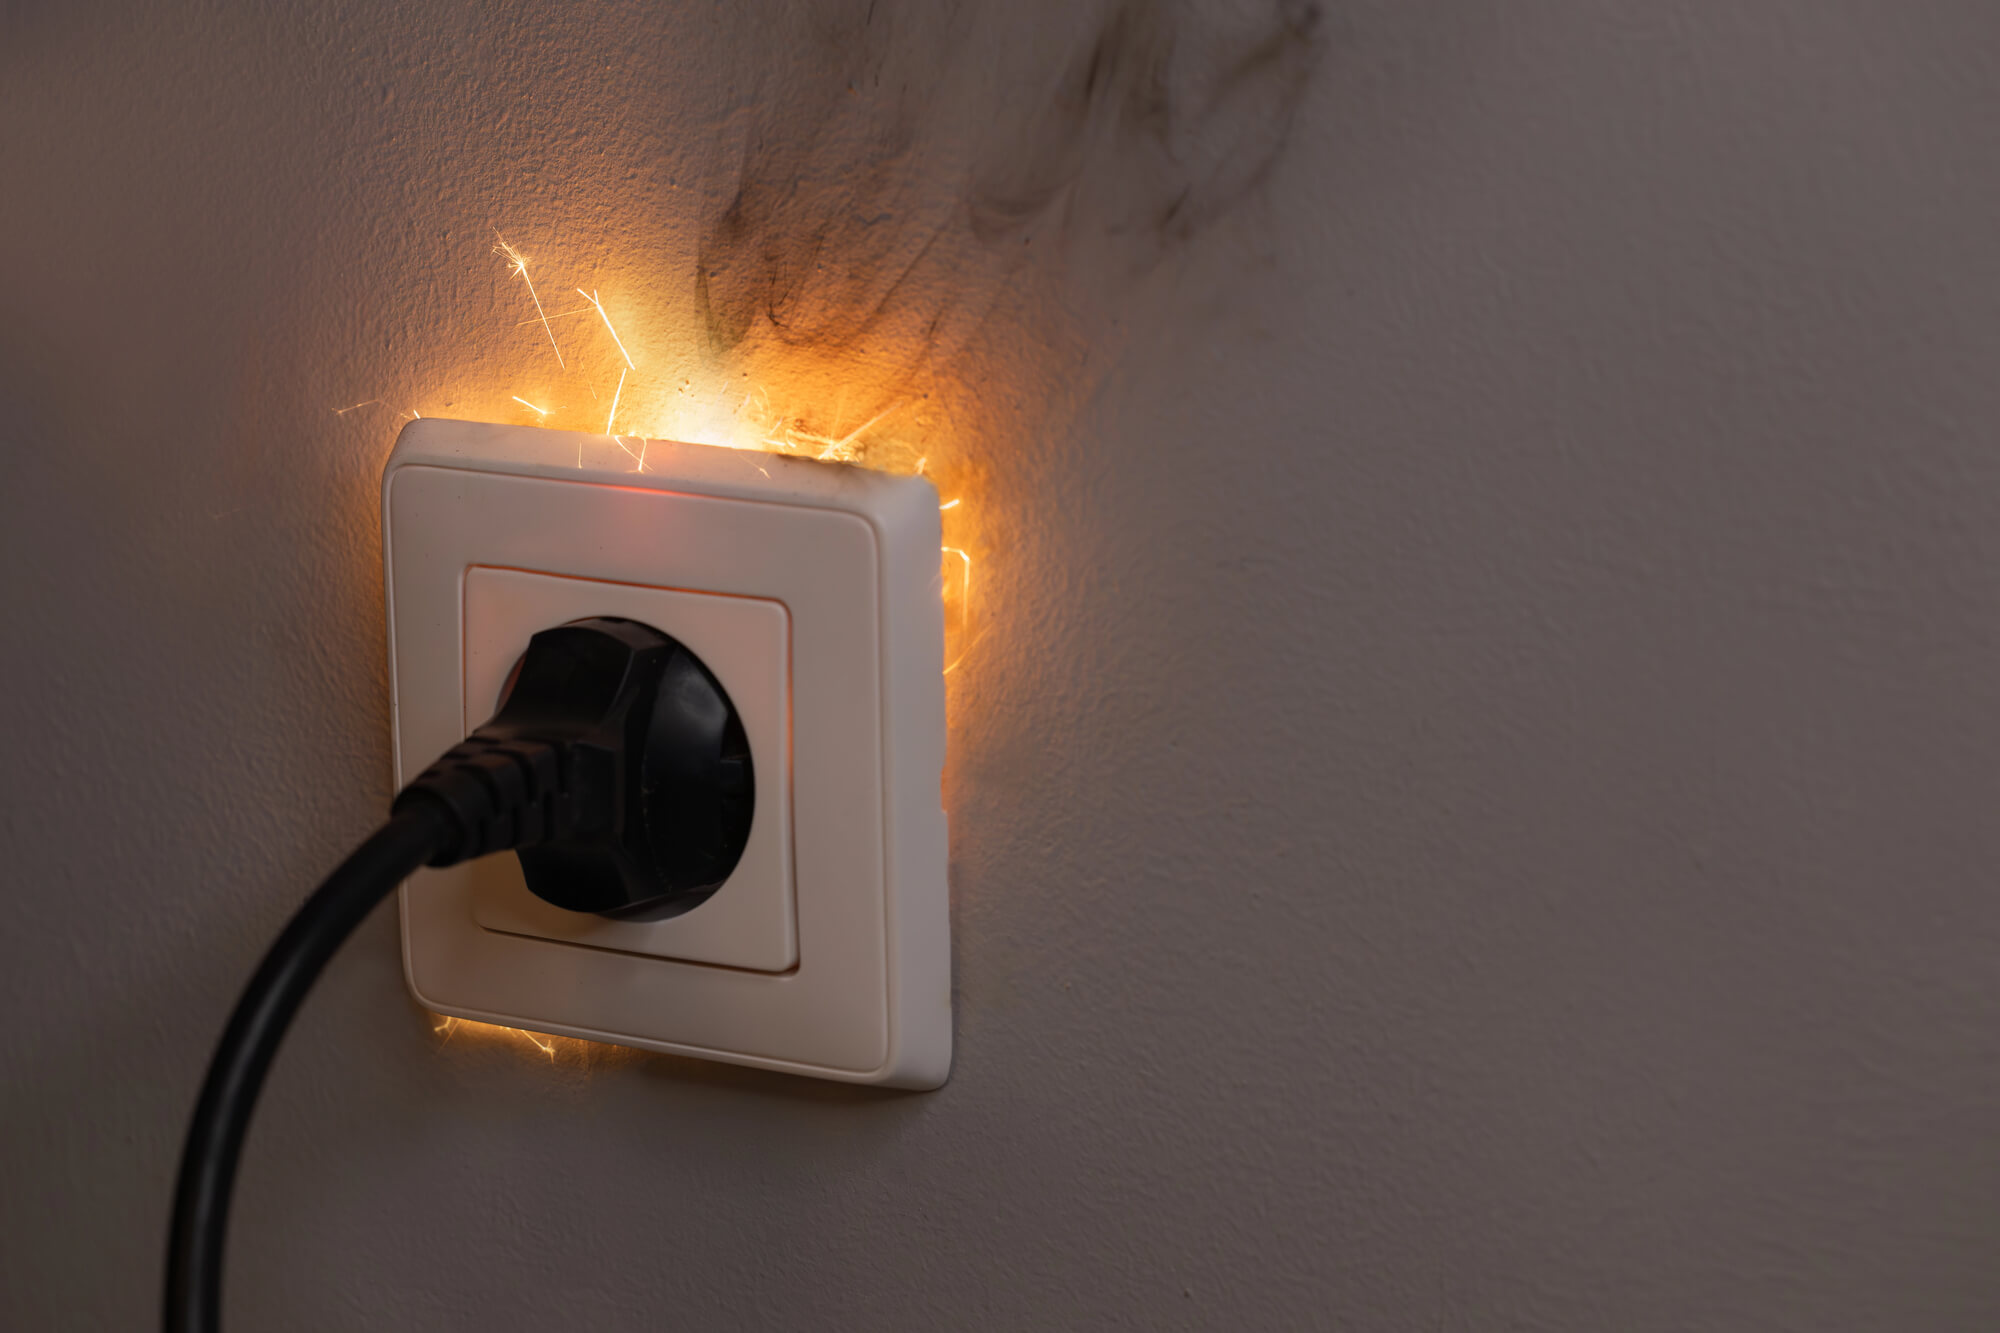
- The GFCI trips immediately after installation (indicates a wiring fault)
Testing GFCI Protection and Proper Outlet Placement
Simply installing a GFCI outlet isn’t enough—testing and correct placement are critical for safety. Most GFCI outlets include TEST and RESET buttons; press TEST monthly to verify the outlet functions correctly. If the TEST button doesn’t trip the outlet, the device has failed and requires replacement. Beyond individual outlet testing, verify that ground fault protection actually covers all intended locations. A GFCI outlet at the kitchen sink should protect other outlets on the same circuit if it’s the first outlet, but verify this configuration matches your local code requirements.
Placement matters significantly: bathroom vanity outlets require GFCI protection within 6 feet of a sink, kitchen countertop outlets must be GFCI protected, and outdoor outlets need weatherproof GFCI protection. Common installation mistakes include placing the GFCI outlet in an inconvenient location where you can’t easily access TEST and RESET buttons, or installing GFCI protection only at the outlet directly at the sink while leaving other kitchen countertop outlets unprotected. Modern codes increasingly require all bathroom and kitchen outlets to be GFCI protected, not just those closest to water sources. Licensed electricians understand local code variations and can design your outlet layout to provide complete GFCI coverage while maintaining convenient access to outlets. Some homeowners also choose to install GFCI breakers in the electrical panel instead of individual outlets, providing protection for all outlets on that circuit with less visual clutter.
Frequently Asked Questions
Which terminals are LINE and which are LOAD on a GFCI outlet?
LINE terminals are always on the side labeled “LINE” — this is where incoming power from the panel connects. LOAD terminals are where power goes out to protect downstream outlets. Connecting incorrectly prevents the GFCI from functioning. The LINE side typically has a yellow tape covering the LOAD terminals from the factory.
Can I install a GFCI outlet without a ground wire?
Yes. GFCI protection works without a ground wire. Connect only to the LINE terminals, leave the ground screw empty, and label the outlet “No Equipment Ground.” This is the NEC-approved method for upgrading ungrounded circuits.
Why does my GFCI outlet keep tripping?
Repeated tripping usually indicates a ground fault on the circuit — moisture in an outlet or wiring, a faulty appliance, or a miswired device. Unplug all devices on the circuit and reset. If it stays on, plug in devices one at a time to find the culprit.
Should I use a 15A or 20A GFCI outlet?
Match the GFCI amperage to the circuit breaker. A 15A circuit (most home circuits) uses a 15A GFCI. A 20A circuit (kitchen countertop, bathroom) requires a 20A GFCI, which has a T-shaped neutral slot. Check your breaker before purchasing.
How do I test a GFCI outlet after installation?
Press the TEST button — the outlet (and any protected downstream outlets) should lose power. Press RESET to restore power. You can also use an outlet tester with a GFCI test button for more thorough testing. Test GFCI outlets monthly.