Installing outdoor lighting is one of the most effective ways to improve your home’s safety, security, and curb appeal. Whether you’re adding porch lights, path lighting, or floodlights, a properly installed outdoor lighting system can transform how your home looks and functions after dark. This guide covers how outdoor lighting installation works, what to expect, and when to call a licensed electrician.
⚡ Key Takeaways
- Outdoor lighting comes in many forms, each serving a different purpose:
- Hardwired outdoor lighting connects to your home’s 120V electrical system.
- How you control outdoor lighting matters as much as the fixtures themselves:
Types of Outdoor Lighting to Install
Outdoor lighting comes in many forms, each serving a different purpose:
- Porch and entry lights: Wall-mounted fixtures that illuminate entry points and welcome guests
- Path lights: Low-level fixtures along walkways and driveways for safety and aesthetics
- Floodlights and security lights: High-output fixtures for perimeter security and large area illumination
- Motion-sensor lights: Automatically activate when triggered, deterring intruders and lighting your way
- Accent and landscape lights: Uplights, downlights, and spotlights highlighting trees, architecture, and garden features
- Post and driveway lights: Illuminate long driveways and mark property boundaries
How Outdoor Lighting Installation Works
Hardwired outdoor lighting connects to your home’s 120V electrical system. The process involves:
- Determining fixture locations and the routing for new wiring
- Running weatherproof cable through exterior walls, conduit, or underground where needed
- Installing GFCI-protected circuits as required by National Electrical Code (NEC) standards
- Mounting fixtures securely to exterior surfaces or in-ground posts
- Connecting to a switch, timer, or smart control inside the home
Outdoor Lighting Controls: Switches, Timers, and Smart Options
How you control outdoor lighting matters as much as the fixtures themselves:
- Wall switch: Simple and reliable; requires manual operation
- Timer: Automates on/off based on a set schedule; energy-efficient and convenient
- Photocell (dusk-to-dawn): Light-sensitive control that turns lights on at dusk and off at dawn automatically
- Motion sensor: Activates when movement is detected; ideal for security and entry lighting
- Smart switch/app control: Remote control, scheduling, and automation via smartphone or voice assistant
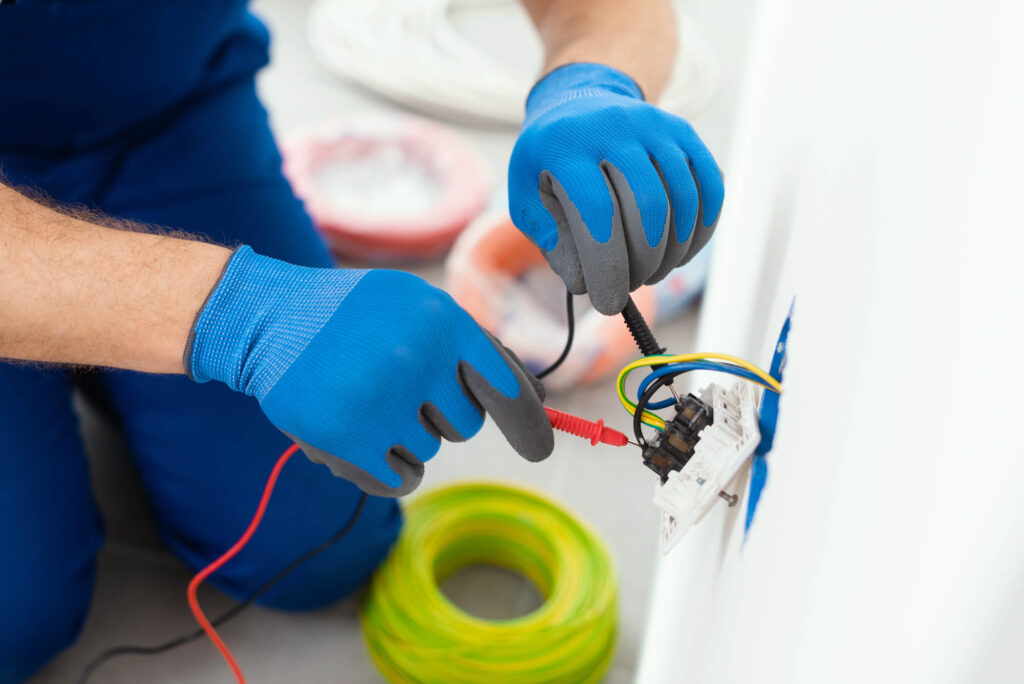
Wiring Requirements for Outdoor Lighting
All outdoor electrical wiring must meet specific code requirements: weatherproof cable (UF-B for direct burial or THWN in conduit), GFCI protection on all outdoor circuits, and weatherproof junction boxes and covers. A licensed electrician will ensure all materials and methods comply with your local electrical code.
Outdoor lighting installation requires weatherproof wiring and proper GFCI protection. Our licensed electricians handle all outdoor electrical work to code.
Tools and Materials You’ll Need for Outdoor Lighting Installation
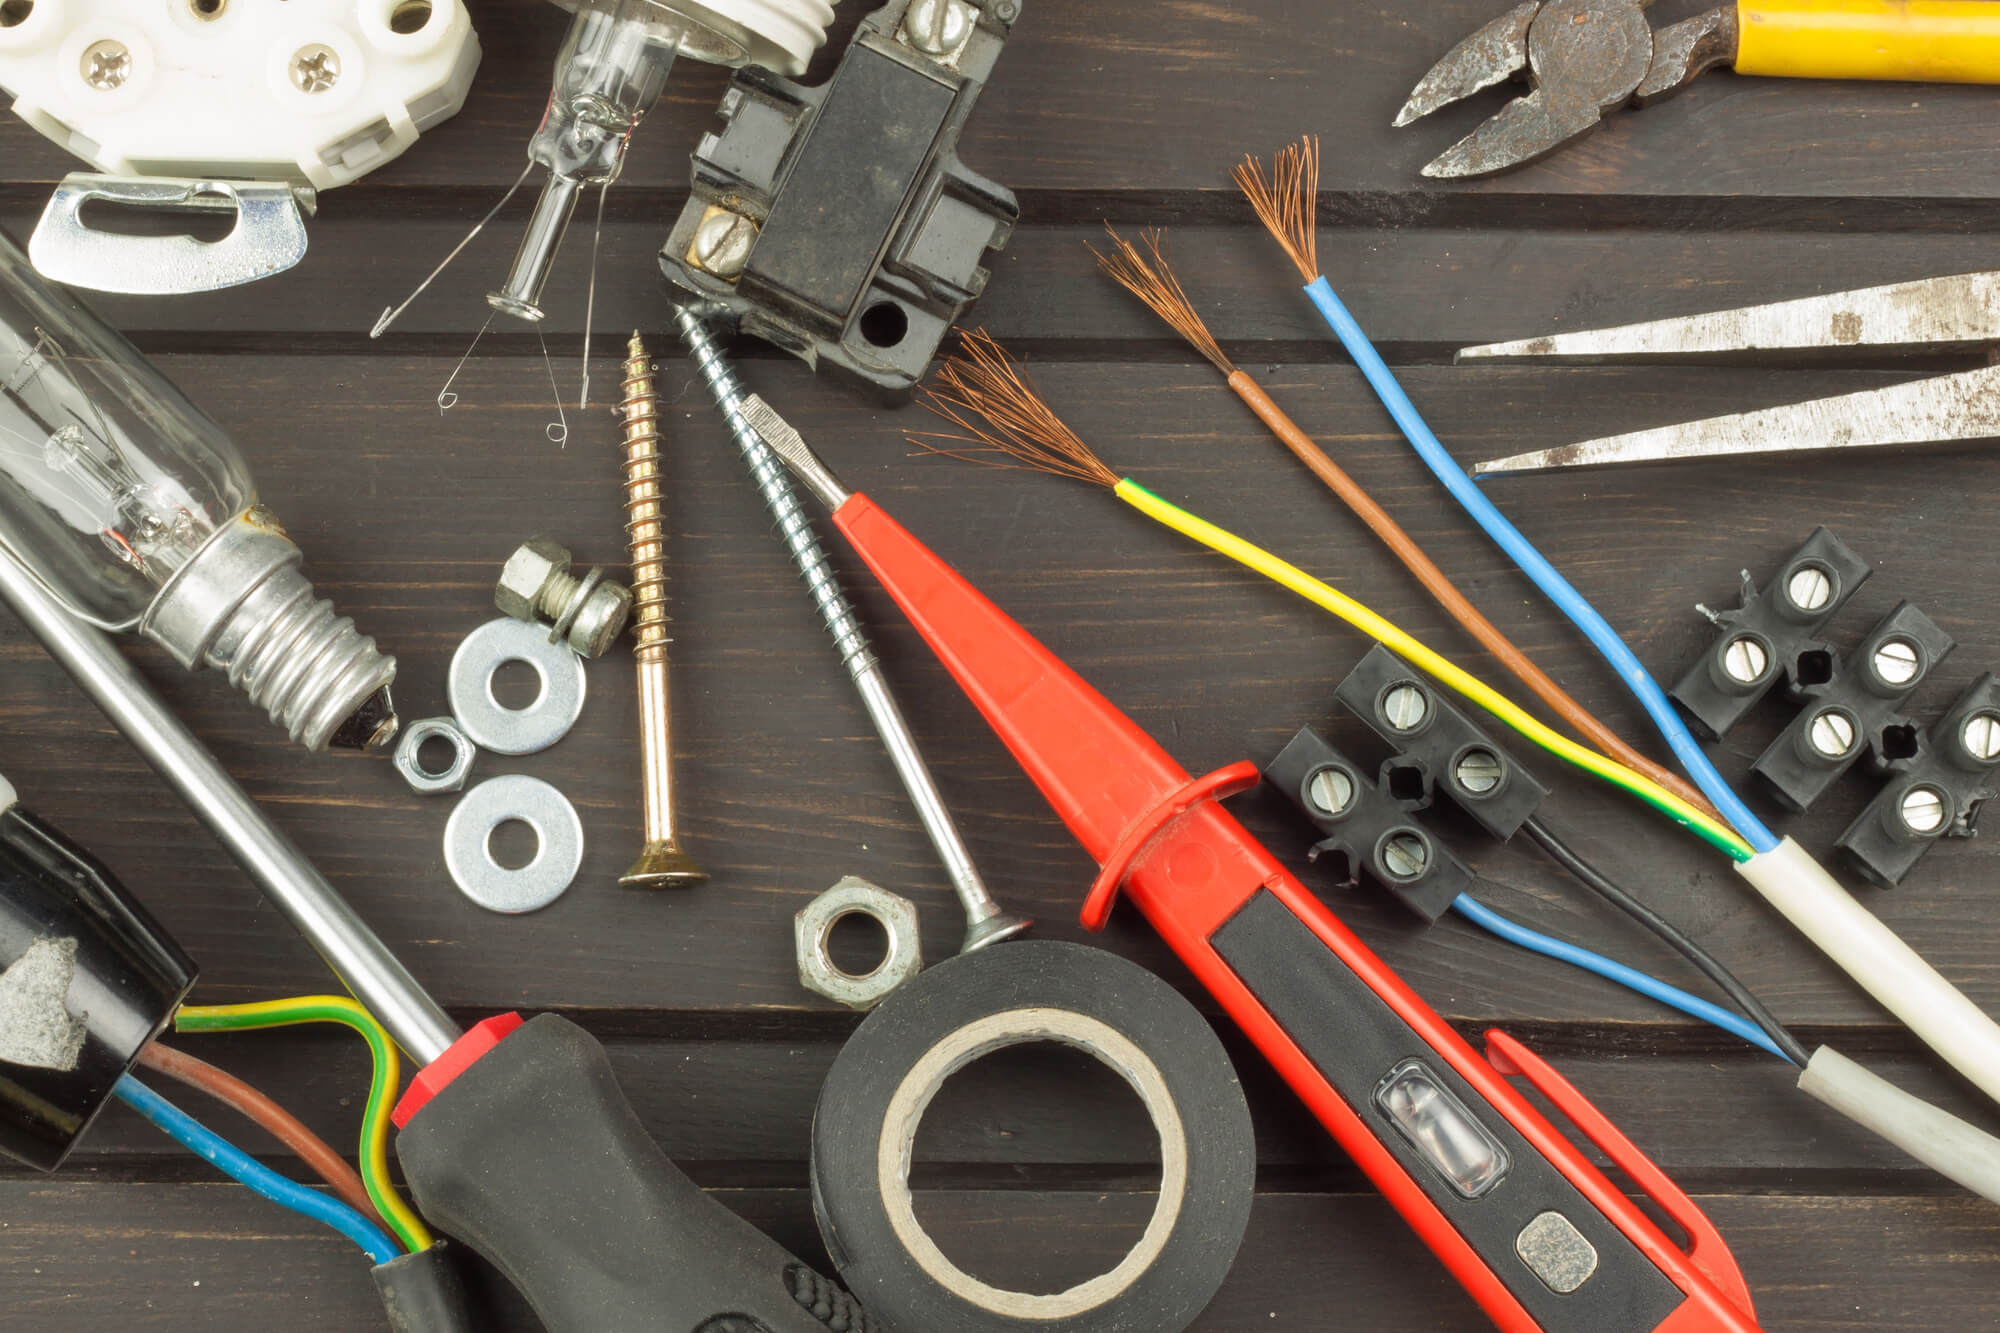
A complete outdoor lighting installation requires specific tools and materials to ensure safety and code compliance. You’ll need a drill or rotary hammer for boring holes through exterior walls, fish tape for running wiring through walls and conduit, a wire stripper and crimper for proper connections, a voltage tester to verify power is off before working, and a multimeter for testing circuits. For materials, invest in weatherproof cable rated for your application—either UF-B (underground feeder) for direct burial or THWN inside rigid or flexible conduit for protection. Weatherproof outlet boxes, GFCI-protected breakers or outlets, conduit fittings, and stainless steel hardware rated for exterior use are all essential. Many homeowners underestimate the quantity of wire, conduit, and fasteners needed; measure twice and purchase 10-15% extra to account for mistakes or routing complications. For porch fixtures, you’ll want heavy-duty stainless steel mounting hardware to prevent rust in wet climates. If running cable underground, a cable locator can help you avoid hitting existing utilities.
Step-by-Step Installation Process
The installation begins with planning. Determine where each light fixture will mount—typically under soffit eaves, on posts, in the ground along walkways, or on garden structures—and mark these locations. Trace the routing path from your indoor switch or panel to the first outdoor fixture, then between fixtures if you’re daisy-chaining them on a single circuit. Mark all drilling points and routing paths on the exterior before making any holes. Check your local electrical code for circuit breaker requirements; most outdoor circuits need GFCI protection and typically use a 15-amp breaker on a 14-gauge wire or 20-amp on 12-gauge. Drill entry holes through the rim joist or exterior wall at a slight downward angle to prevent water infiltration. Install weatherproof junction boxes and covers at all connection points. Run your cable through the holes and into conduit where exposed to the weather or mechanical damage. If burying cable underground, dig a trench at least 6-12 inches deep (check local code for your depth requirement) and lay the UF-B cable directly in the trench, then cover with soil and mark the route for future reference. Make all connections inside weatherproof boxes using properly rated connectors and silicone caulk to seal the box. Mount fixtures securely with stainless steel fasteners, ensuring they’re level and tightly secured. Connect to your indoor switch or timer, and have a licensed electrician verify the installation before closing up walls or restoring landscaping.
Common Mistakes to Avoid in Outdoor Lighting Installation
The most frequent error homeowners and inexperienced installers make is using the wrong type of cable. Regular indoor NM (Romex) cable will deteriorate quickly when exposed to sunlight, moisture, and temperature changes; always use weatherproof UF-B or THWN in conduit. Another common mistake is failing to install GFCI protection—the NEC requires GFCI on all outdoor circuits, and skipping this creates serious shock hazards, particularly around water features or wet ground. Underestimating voltage drop is another issue; long runs of outdoor wiring (over 50 feet) can experience significant voltage drop, causing fixtures to dim noticeably or operate poorly. Many installers also fail to slope conduit or cable runs downward to prevent water pooling, which leads to corrosion and short circuits. Not sealing junction boxes and connections properly allows water to seep in, causing corrosion and electrical faults. A third mistake is insufficient support—cable should be secured to the structure every 2-3 feet to prevent sagging and damage from wind or ice load. Finally, many people underestimate the importance of submersible or wet-rated fixtures; standard fixtures installed in damp locations like near fountains or in plant pots will fail prematurely. Taking the time to use proper materials and methods the first time prevents costly repairs and safety hazards later.
Tools and Materials You’ll Need for Outdoor Lighting Installation
A complete outdoor lighting installation requires specific tools and materials to ensure safety and code compliance. You’ll need a drill or rotary hammer for boring holes through exterior walls, fish tape for running wiring through walls and conduit, a wire stripper and crimper for proper connections, a voltage tester to verify power is off before working, and a multimeter for testing circuits. For materials, invest in weatherproof cable rated for your application—either UF-B (underground feeder) for direct burial or THWN inside rigid or flexible conduit for protection. Weatherproof outlet boxes, GFCI-protected breakers or outlets, conduit fittings, and stainless steel hardware rated for exterior use are all essential. Many homeowners underestimate the quantity of wire, conduit, and fasteners needed; measure twice and purchase 10-15% extra to account for mistakes or routing complications. For porch fixtures, you’ll want heavy-duty stainless steel mounting hardware to prevent rust in wet climates. If running cable underground, a cable locator can help you avoid hitting existing utilities.
Step-by-Step Installation Process
The installation begins with planning. Determine where each light fixture will mount—typically under soffit eaves, on posts, in the ground along walkways, or on garden structures—and mark these locations. Trace the routing path from your indoor switch or panel to the first outdoor fixture, then between fixtures if you’re daisy-chaining them on a single circuit. Mark all drilling points and routing paths on the exterior before making any holes. Check your local electrical code for circuit breaker requirements; most outdoor circuits need GFCI protection and typically use a 15-amp breaker on 14-gauge wire or 20-amp on 12-gauge. Drill entry holes through the rim joist or exterior wall at a slight downward angle to prevent water infiltration. Install weatherproof junction boxes and covers at all connection points. Run your cable through the holes and into conduit where exposed to the weather or mechanical damage. If burying cable underground, dig a trench at least 6-12 inches deep (check local code for your depth requirement) and lay the UF-B cable directly in the trench, then cover with soil and mark the route for future reference. Make all connections inside weatherproof boxes using properly rated connectors and silicone caulk to seal the box. Mount fixtures securely with stainless steel fasteners, ensuring they’re level and tightly secured. Connect to your indoor switch or timer, and have a licensed electrician verify the installation before closing up walls or restoring landscaping.
Common Mistakes to Avoid in Outdoor Lighting Installation
The most frequent error homeowners and inexperienced installers make is using the wrong type of cable. Regular indoor NM (Romex) cable will deteriorate quickly when exposed to sunlight, moisture, and temperature changes; always use weatherproof UF-B or THWN in conduit. Another common mistake is failing to install GFCI protection—the NEC requires GFCI on all outdoor circuits, and skipping this creates serious shock hazards, particularly around water features or wet ground. Underestimating voltage drop is another issue; long runs of outdoor wiring (over 50 feet) can experience significant voltage drop, causing fixtures to dim noticeably or operate poorly. Many installers also fail to slope conduit or cable runs downward to prevent water pooling, which leads to corrosion and short circuits. Not sealing junction boxes and connections properly allows water to seep in, causing corrosion and electrical faults. A third mistake is insufficient support—cable should be secured to the structure every 2-3 feet to prevent sagging and damage from wind or ice load. Finally, many people underestimate the importance of submersible or wet-rated fixtures; standard fixtures installed in damp locations like near fountains or in plant pots will fail prematurely. Taking the time to use proper materials and methods the first time prevents costly repairs and safety hazards later.
When to Hire a Licensed Electrician
Any hardwired outdoor lighting installation requires a licensed electrician. This includes new fixtures, new circuits, underground wiring runs, and GFCI outlet installation. Working with outdoor electrical wiring exposes installers to weather-related hazards and requires specific materials and techniques to ensure long-term safety.
Frequently Asked Questions
Can I install outdoor lights myself?
Replacing an existing outdoor fixture with the same type (same wiring, same box) is a manageable DIY task for many homeowners. Any new wiring, new circuits, or underground runs require a licensed electrician and typically a permit.
What kind of wire is used for outdoor lighting?
Direct-burial outdoor wiring uses UF-B (underground feeder) cable, which is moisture-resistant and rated for direct burial without conduit. Above-ground outdoor wiring uses THWN or THWN-2 conductors in weatherproof conduit. Your electrician will select the correct material for each run.
How deep does outdoor wiring need to be buried?
Direct-burial UF-B cable must be buried at least 12 inches deep under general conditions. Wiring in conduit requires only 6 inches of cover. Under driveways and vehicle traffic areas, 24 inches of cover is required.
Do I need a permit to install outdoor lighting?
New hardwired outdoor lighting — particularly when new circuits or wiring runs are involved — typically requires a permit. Replacing an existing fixture on existing wiring may not. Your electrician can advise on local requirements.