A NEMA 14-50 outlet provides 240V/50A power for Level 2 EV charging, RV hookups, and large appliances. While the installation process is straightforward for a licensed electrician, this is not a DIY project — it involves your main electrical panel and high-voltage wiring.
Contents
⚡ Key Takeaways
- NEMA 14-50 installation requires a licensed electrician in virtually all jurisdictions
- The outlet needs a dedicated 50A double-pole breaker and 6-gauge wire
- Always pull a permit — unpermitted 240V work creates liability and insurance issues
- The entire circuit must be protected from the panel to the outlet with no splices
- Installation typically takes 2–4 hours; longer for runs over 30 feet or finished walls
Overview: What NEMA 14-50 Installation Involves
Installing a NEMA 14-50 outlet requires running a new 240V circuit from your electrical panel to the outlet location. The circuit must use the correct wire gauge (6 AWG copper for a 50A circuit), the proper breaker (50A double-pole), and a NEMA 14-50 receptacle rated for the application. In a garage adjacent to the panel, this can be a compact job; in a detached structure, it may require underground conduit and significant materials.

Materials Required
- NEMA 14-50 receptacle and outlet box
- 50A double-pole circuit breaker (matching your panel brand)
- 6 AWG copper wire (or larger for very long runs)
- Conduit (EMT, PVC, or flexible — required for exposed runs)
- Cover plate rated for NEMA 14-50
- Wire connectors and ground screws
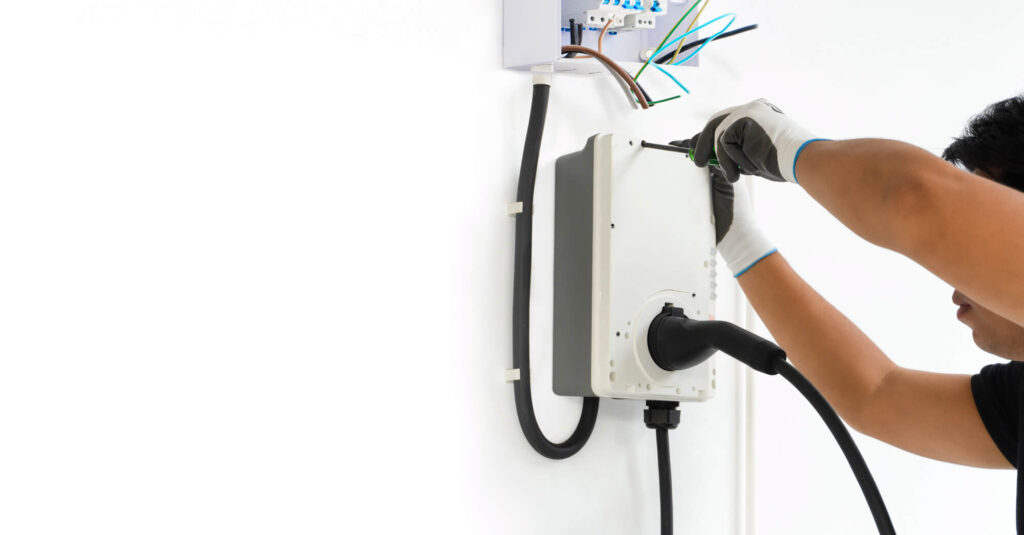
Installation Steps (Performed by a Licensed Electrician)
- Plan the circuit route — determine the shortest safe path from the panel to the outlet location, minimizing wire length while meeting code requirements
- Pull the permit — required in virtually all jurisdictions for 240V circuit work
- Install conduit or cable path — mount conduit along the wall from panel to outlet location, or route cable through the structure as appropriate
- Run the wire — pull 6 AWG cable (two hots, one neutral, one ground) through the conduit or route as cable
- Install the outlet box and receptacle — connect the two hot wires to the X and Y terminals, neutral to W, ground to the ground terminal
- Connect at the panel — turn off main power, install the 50A double-pole breaker, and connect the two hot legs to the breaker, neutral to the neutral bar, ground to the ground bar
- Restore power and test — verify correct voltage (240V between hots, 120V from each hot to neutral) and test with the connected device
Why This Isn’t a DIY Project
240V circuits carry twice the voltage of standard household circuits and the full fault current of your main panel. Mistakes in 240V wiring can cause instant electrocution, severe burns, or electrical fires. Additionally:
- Most jurisdictions require a licensed electrician and permit for this work
- Incorrect installation can void your homeowner’s insurance
- Unpermitted electrical work creates problems when selling your home
- EV charger manufacturers may void warranties for chargers installed on improperly wired circuits
Using NEMA 14-50 for EV Charging
The NEMA 14-50 is the most popular outlet for home EV charging because most portable Level 2 EVSE units include a NEMA 14-50 plug. Using a Level 2 charger at 240V/40A continuous (80% of the 50A circuit capacity), you can add approximately 20–30 miles of range per hour. For most EV owners, an overnight charge provides a full battery by morning. The U.S. Department of Energy recommends Level 2 home charging as the most practical and efficient option for daily EV use.
If you have a dedicated home EV charger (like a Tesla Wall Connector or ChargePoint Home Flex), consider having your electrician hardwire the unit instead of using an outlet — this provides a cleaner installation and can support higher charging speeds.
The Inspection Process
After installation, your local electrical inspector will verify the work meets code requirements: correct wire gauge, proper breaker sizing, correct outlet type, secure conduit connections, and proper grounding. Your electrician coordinates this inspection. It typically occurs within 1–3 business days of permit application in most municipalities.
Frequently Asked Questions
Can I install a NEMA 14-50 outlet myself?
While technically possible, this is strongly discouraged. 240V work involves your main panel and high fault currents. Most jurisdictions require a licensed electrician and permit. Unpermitted work creates insurance and resale issues. Hire a licensed electrician for this installation.
What wire gauge is needed for a NEMA 14-50?
A NEMA 14-50 circuit requires 6 AWG copper wire for a 50A circuit. For very long runs (over 100 feet), 4 AWG may be required to compensate for voltage drop. Your electrician will perform the calculation for your specific installation.
How much does NEMA 14-50 installation cost?
Typical installation costs $300–$600 for a straightforward garage installation near the panel. Longer runs, finished walls, or panel upgrades can push the cost to $1,000 or more. Get quotes from licensed electricians in your area.
Do I need to upgrade my electrical panel for a NEMA 14-50?
Only if your panel is full (no available double-pole breaker slots) or if the panel is already heavily loaded. A licensed electrician will assess your panel capacity and advise whether a panel upgrade or subpanel is needed.
Is a hardwired EV charger better than NEMA 14-50?
Hardwired EV chargers provide a cleaner installation and can support higher charging speeds (some support 48A or 60A circuits). NEMA 14-50 outlets offer flexibility — the charger can be unplugged and taken when you move. For most homeowners, NEMA 14-50 is sufficient and offers more flexibility.