Recessed lighting — also called can lights or downlights — is one of the most popular and versatile lighting upgrades for modern homes. It provides clean, low-profile illumination without the bulk of surface-mounted fixtures and works in virtually any room. This guide covers how recessed lighting installation works, what it costs, and when to call a licensed electrician.
⚡ Key Takeaways
- Recessed lighting fixtures are installed inside the ceiling, with only the trim ring and bulb visible from below.
- The two main types are new construction fixtures (designed to install before drywall is hung) and remodel fixtures (designed to fit through a finished ceiling hole).
- Installation costs depend on the number of lights, ceiling type, and whether new wiring is required:
What Is Recessed Lighting?
Recessed lighting fixtures are installed inside the ceiling, with only the trim ring and bulb visible from below. They’re used for general ambient lighting, task lighting over countertops or work areas, and accent lighting to highlight artwork or architectural features. Modern LED recessed lights are energy-efficient, long-lasting, and available in a wide range of color temperatures.
Types of Recessed Lighting
The two main types are new construction fixtures (designed to install before drywall is hung) and remodel fixtures (designed to fit through a finished ceiling hole). For most homeowner upgrades, remodel fixtures are used since they’re installed through the drywall without opening the ceiling. IC-rated fixtures are required when insulation is present above the ceiling.
Cost to Install Recessed Lighting
Installation costs depend on the number of lights, ceiling type, and whether new wiring is required:
- LED remodel fixture (hardware): $15 – $60 per light
- Installation on existing circuit: $100 – $200 per light
- Installation with new circuit: $200 – $350 per light
- Dimmer switch addition: $75 – $200
- Full room installation (6 lights, new circuit, dimmer): $900 – $2,500
Planning Your Recessed Lighting Layout
A well-planned layout ensures even light distribution and avoids hot spots or dark areas. General spacing guidelines:
- Place lights roughly 2 feet from walls to avoid shadows
- Space lights approximately the same distance apart as the ceiling height (8-foot ceiling = 4-foot spacing)
- For task lighting over countertops, position lights directly above the work surface
- Use 3-inch or 4-inch fixtures for accent lighting; 5- or 6-inch for general ambient light
Your electrician can advise on layout during the planning phase.
Attic Access and Installation Complexity
Installation is much simpler when there is attic access above the ceiling — the electrician can fish wire more easily and confirm insulation clearances. In rooms with no attic access (lower floors with living space above), wire fishing through finished walls and ceilings takes more time and increases labor cost.
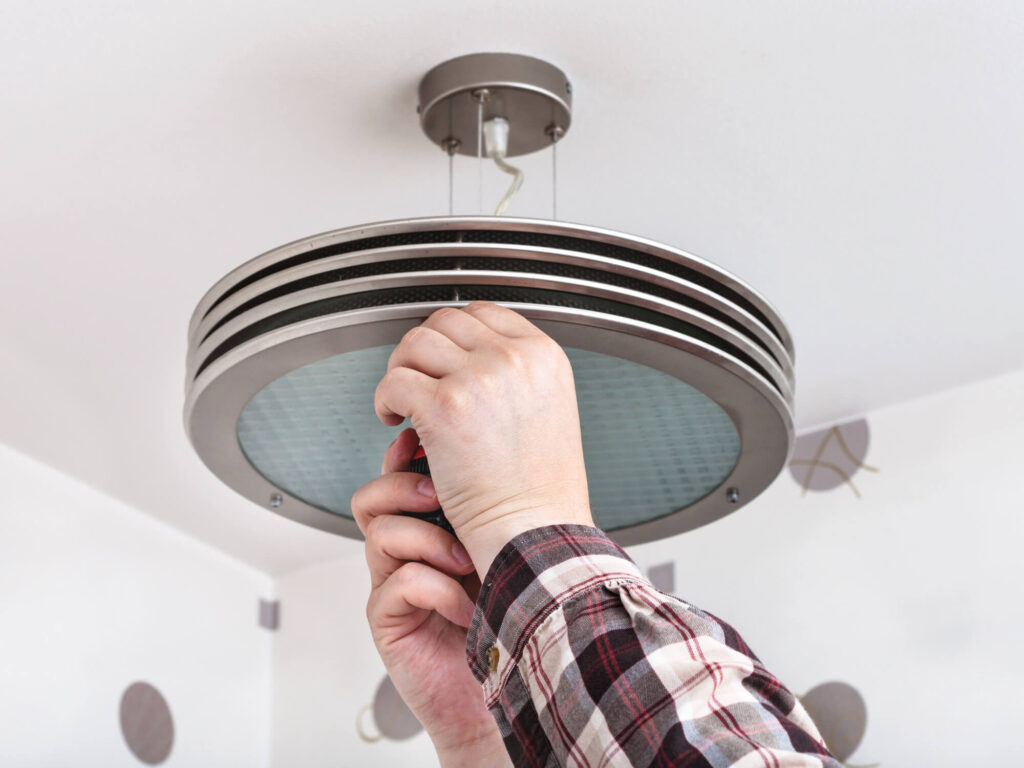
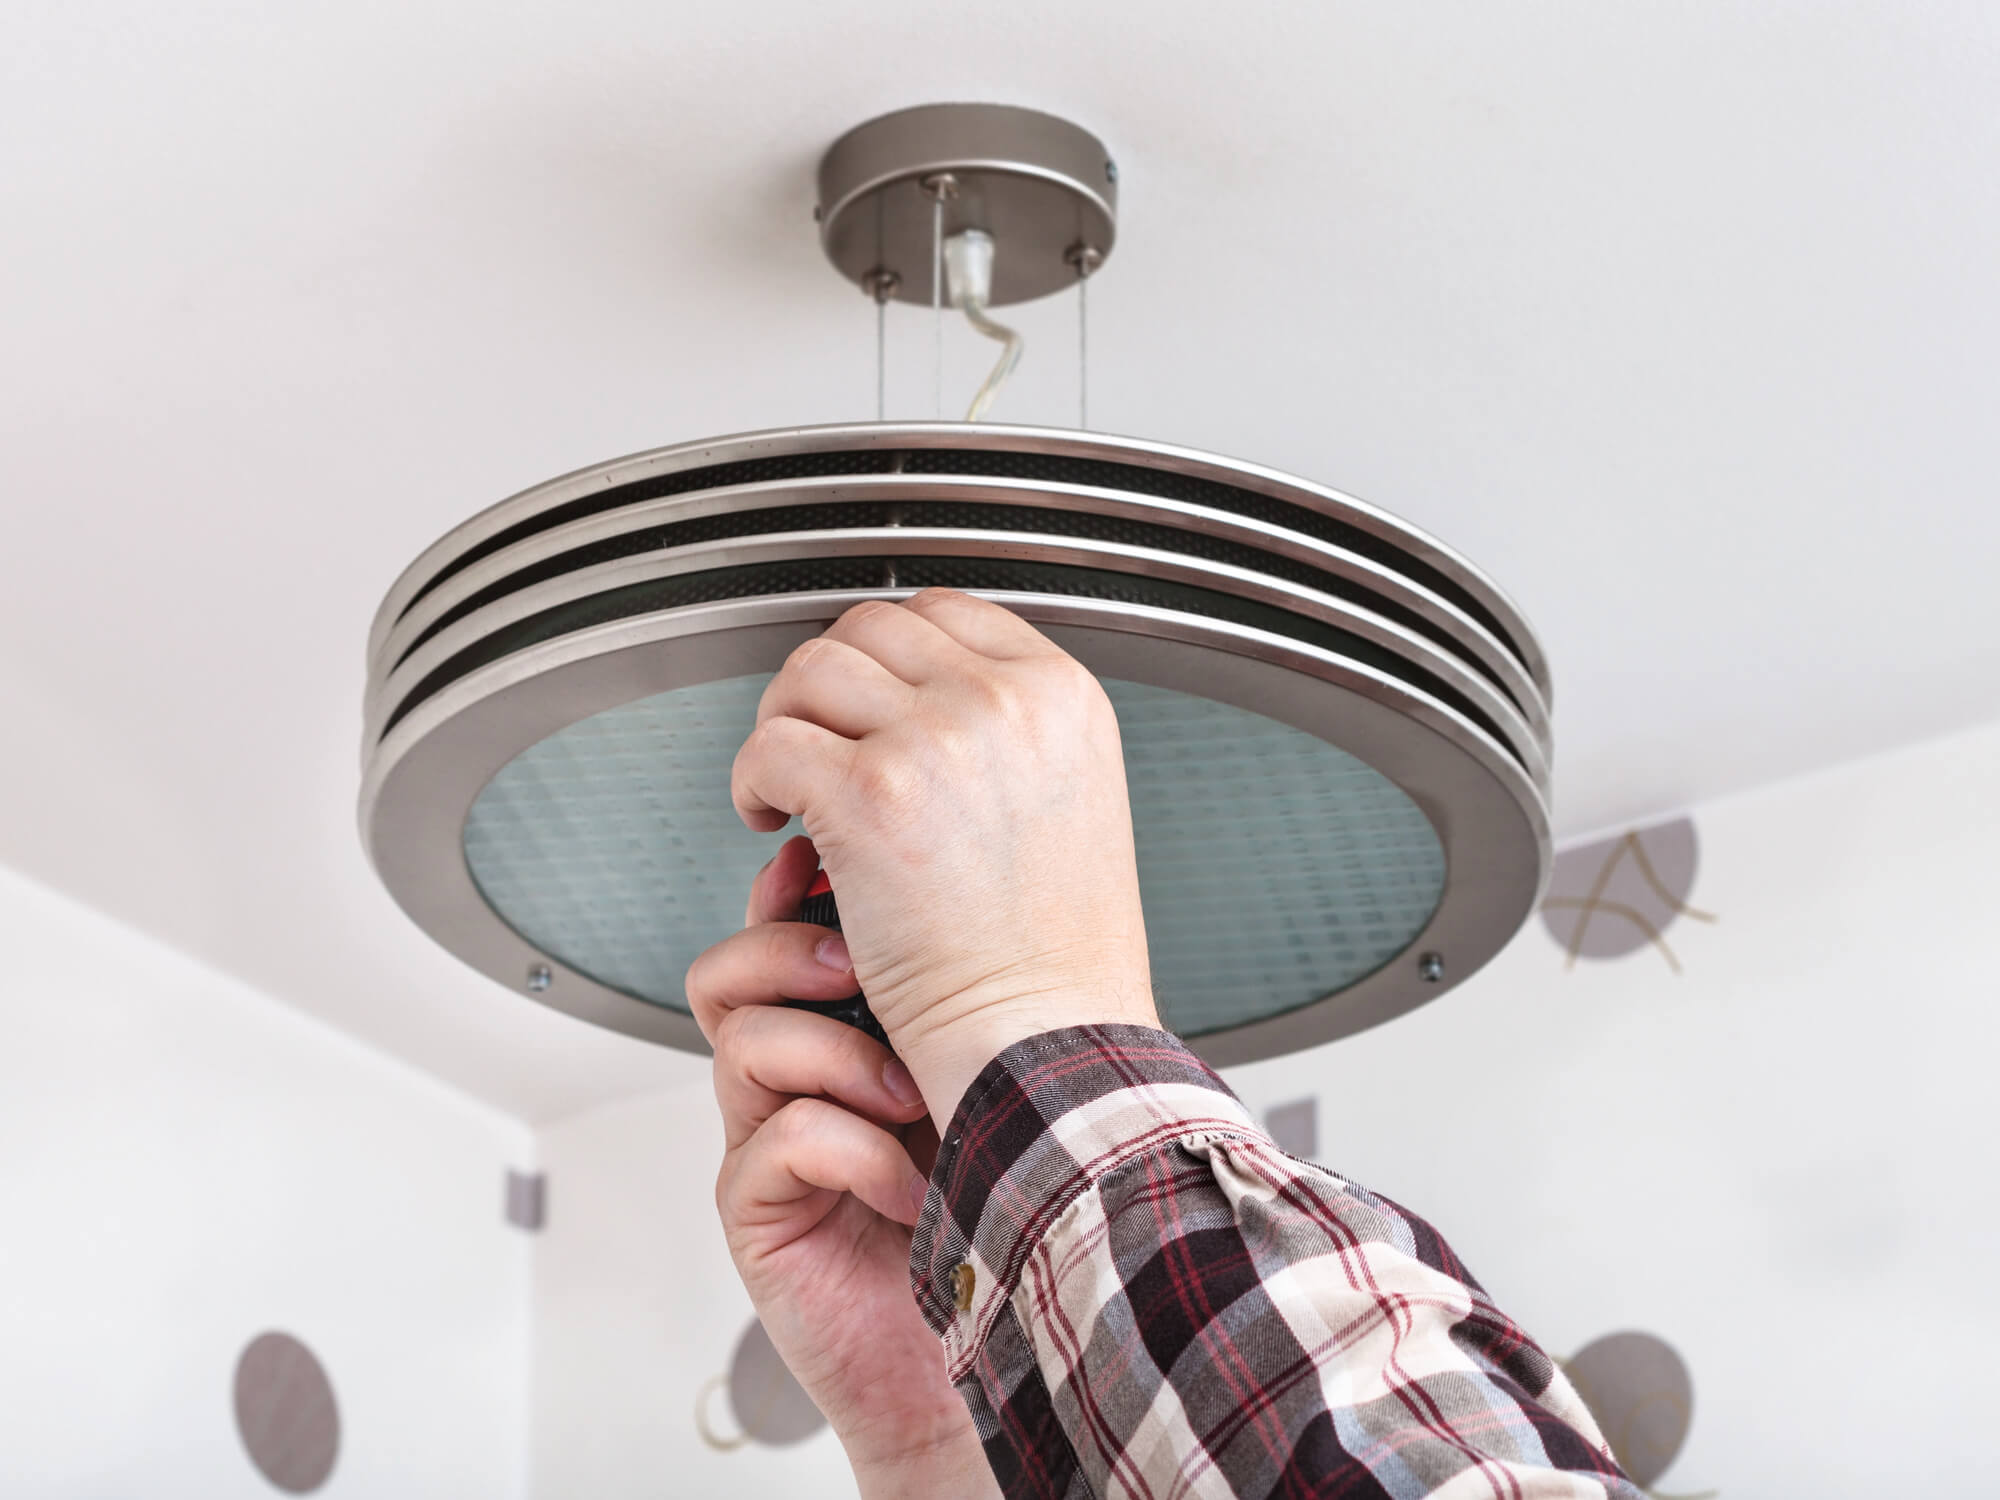
Recessed lighting installation requires running new wiring through finished walls and ceilings. Our electricians can handle the full job cleanly and efficiently.
When to Hire a Licensed Electrician
Recessed lighting installation always requires a licensed electrician for the wiring work. Even if the fixture itself simply plugs into an existing socket, running new wiring to additional locations requires licensed work. An electrician will also ensure fixtures are correctly rated for insulation contact where needed.
Frequently Asked Questions
Can I install recessed lighting myself?
The fixture itself can be inserted into a pre-cut hole by a homeowner, but all wiring must be performed by a licensed electrician in most jurisdictions. Wiring recessed lights involves work inside the electrical panel and wall/ceiling cavities that requires professional expertise.
What bulbs do modern recessed lights use?
Most modern remodel fixtures are integrated LED units — the LED is built into the fixture itself and there’s no replaceable bulb. These units typically last 25,000–50,000 hours and use 9–12 watts. Some fixtures use standard GU10 or E26 base bulbs.
Do recessed lights need to be on a dimmer?
Not required, but strongly recommended for living rooms, bedrooms, and dining areas where ambiance matters. Ensure fixtures and dimmers are LED-compatible. Ask your electrician to install a dimmer as part of the project.
How many recessed lights can be on one circuit?
A 15-amp circuit can support approximately 30 LED recessed fixtures (at 9W each), making circuit capacity rarely a limiting factor for standard residential lighting projects. Your electrician will confirm based on your actual fixture wattage.
Call 855-436-0065 for Immediate Assistance
Tools and Materials Required for Recessed Lighting Installation
Installing recessed lighting requires specialized tools and materials designed for overhead work and ceiling penetrations. Essential tools include a stud finder to identify framing and avoid running cable through structural members, a drywall saw or hole saw (typically 4-6 inches) for cutting ceiling openings, a voltage tester and multimeter for safety verification and circuit testing, wire strippers and crimpers for making connections, a fish tape for running cable through walls and ceilings, and a wire gauge tool to verify conductor sizes. You’ll also need a ladder rated for ceiling work and a helper to support long pieces of cable or fixtures while you position them overhead. For materials, purchase recessed lighting fixtures rated for your ceiling type (IC-rated for insulation contact in attics, or non-IC if isolated from insulation), electrical wire sized for your circuit (14-gauge for 15-amp, 12-gauge for 20-amp), electrical boxes rated for recessed fixtures (not standard outlet boxes), GFCI protection if the circuit serves wet locations, junction boxes if daisy-chaining fixtures, wire nuts or push-in connectors, electrical tape, and drywall patches if opening existing ceilings. LED recessed fixtures from brands like Halo, Progress Lighting, or Recessed Lighting Plus provide superior color rendering, efficiency, and long lifespan. Calculate total wattage of all planned fixtures to verify your breaker can handle the load and ensure you don’t exceed circuit capacity, which causes nuisance tripping and overheating.
Installation Steps for Recessed Lighting
Begin by planning your layout on paper, marking fixture locations based on ceiling dimensions and spacing (typically 4-6 feet apart for even illumination). Mark ceiling locations from below using a pencil and measuring tape, or drill small pilot holes from above to mark positions before cutting. Turn off power at the breaker panel and use a voltage tester to confirm the circuit is dead. If installing in an existing ceiling, use a drywall saw to carefully cut circular openings at each location, taking care not to hit electrical wiring or plumbing above the ceiling. For new construction, install boxes before drywall is hung. Run electrical cable from your breaker panel (or existing outlet if daisy-chaining) through the ceiling cavity to each fixture location, securing it every 12-18 inches with clips rated for ceiling use. Pull 12-18 inches of cable out of the ceiling hole and strip wire ends. Connect the fixture’s junction box to incoming cable using wire nuts or push-in connectors rated for your wire gauge; ensure all connections are inside the provided junction box, never exposed in the ceiling cavity. Carefully push the fixture housing up into the ceiling opening, securing mounting brackets or clips to the ceiling framing or adjacent joists. Install the trim ring and bulb holder once the housing is firmly secured. Connect your dimmer switch (if desired) at the wall switch location, ensuring it’s rated for LED bulbs if you’re using LED fixtures. Restore power and test all fixtures for proper operation and brightness consistency.
Common Mistakes and Professional Installation Considerations
One major error is installing non-IC-rated fixtures in direct contact with attic insulation, creating fire hazards from overheating. Always verify your fixtures are IC-rated if insulation contacts them, or carefully keep insulation 3 inches away from non-IC fixtures. Another mistake is underestimating the importance of proper junction box connections; exposed connections in the ceiling cavity can overheat, corrode, or short circuit over time. All connections must be inside rated junction boxes with proper connectors. Using undersized wire causes overheating and fire risk; match wire gauge to circuit amperage and verify you’re not exceeding the fixture’s wire capacity rating. Improper spacing reduces lighting effectiveness; fixtures spaced too far apart create dark spots and shadows. Plan spacing carefully based on ceiling height and fixture type. Failing to verify circuit capacity leads to overloaded circuits that trip frequently or overheat. Calculate total fixture wattage and ensure your breaker and wire can safely handle it. Many installers position fixtures too close to walls, creating harsh shadows and poor ambient lighting. Best practice is to position the first fixture 2-3 feet from the wall, then space remaining fixtures evenly across the room. Not insulating properly in attics allows warm air to escape around fixture housings, reducing home energy efficiency. Seal gaps around non-IC fixtures with fireproof caulk. Finally, some homeowners struggle with flickering or dimming when using LED bulbs with older dimmer switches; upgrade to a dimmer specifically rated for LED compatibility to eliminate this issue and enable full brightness control.